>>2720999Be prepared to spend retarded amounts on foam forms. I have a couple including some from a now dead foam form artist. Copied one of those (he's dead and IIRC no more are being made) with the following:
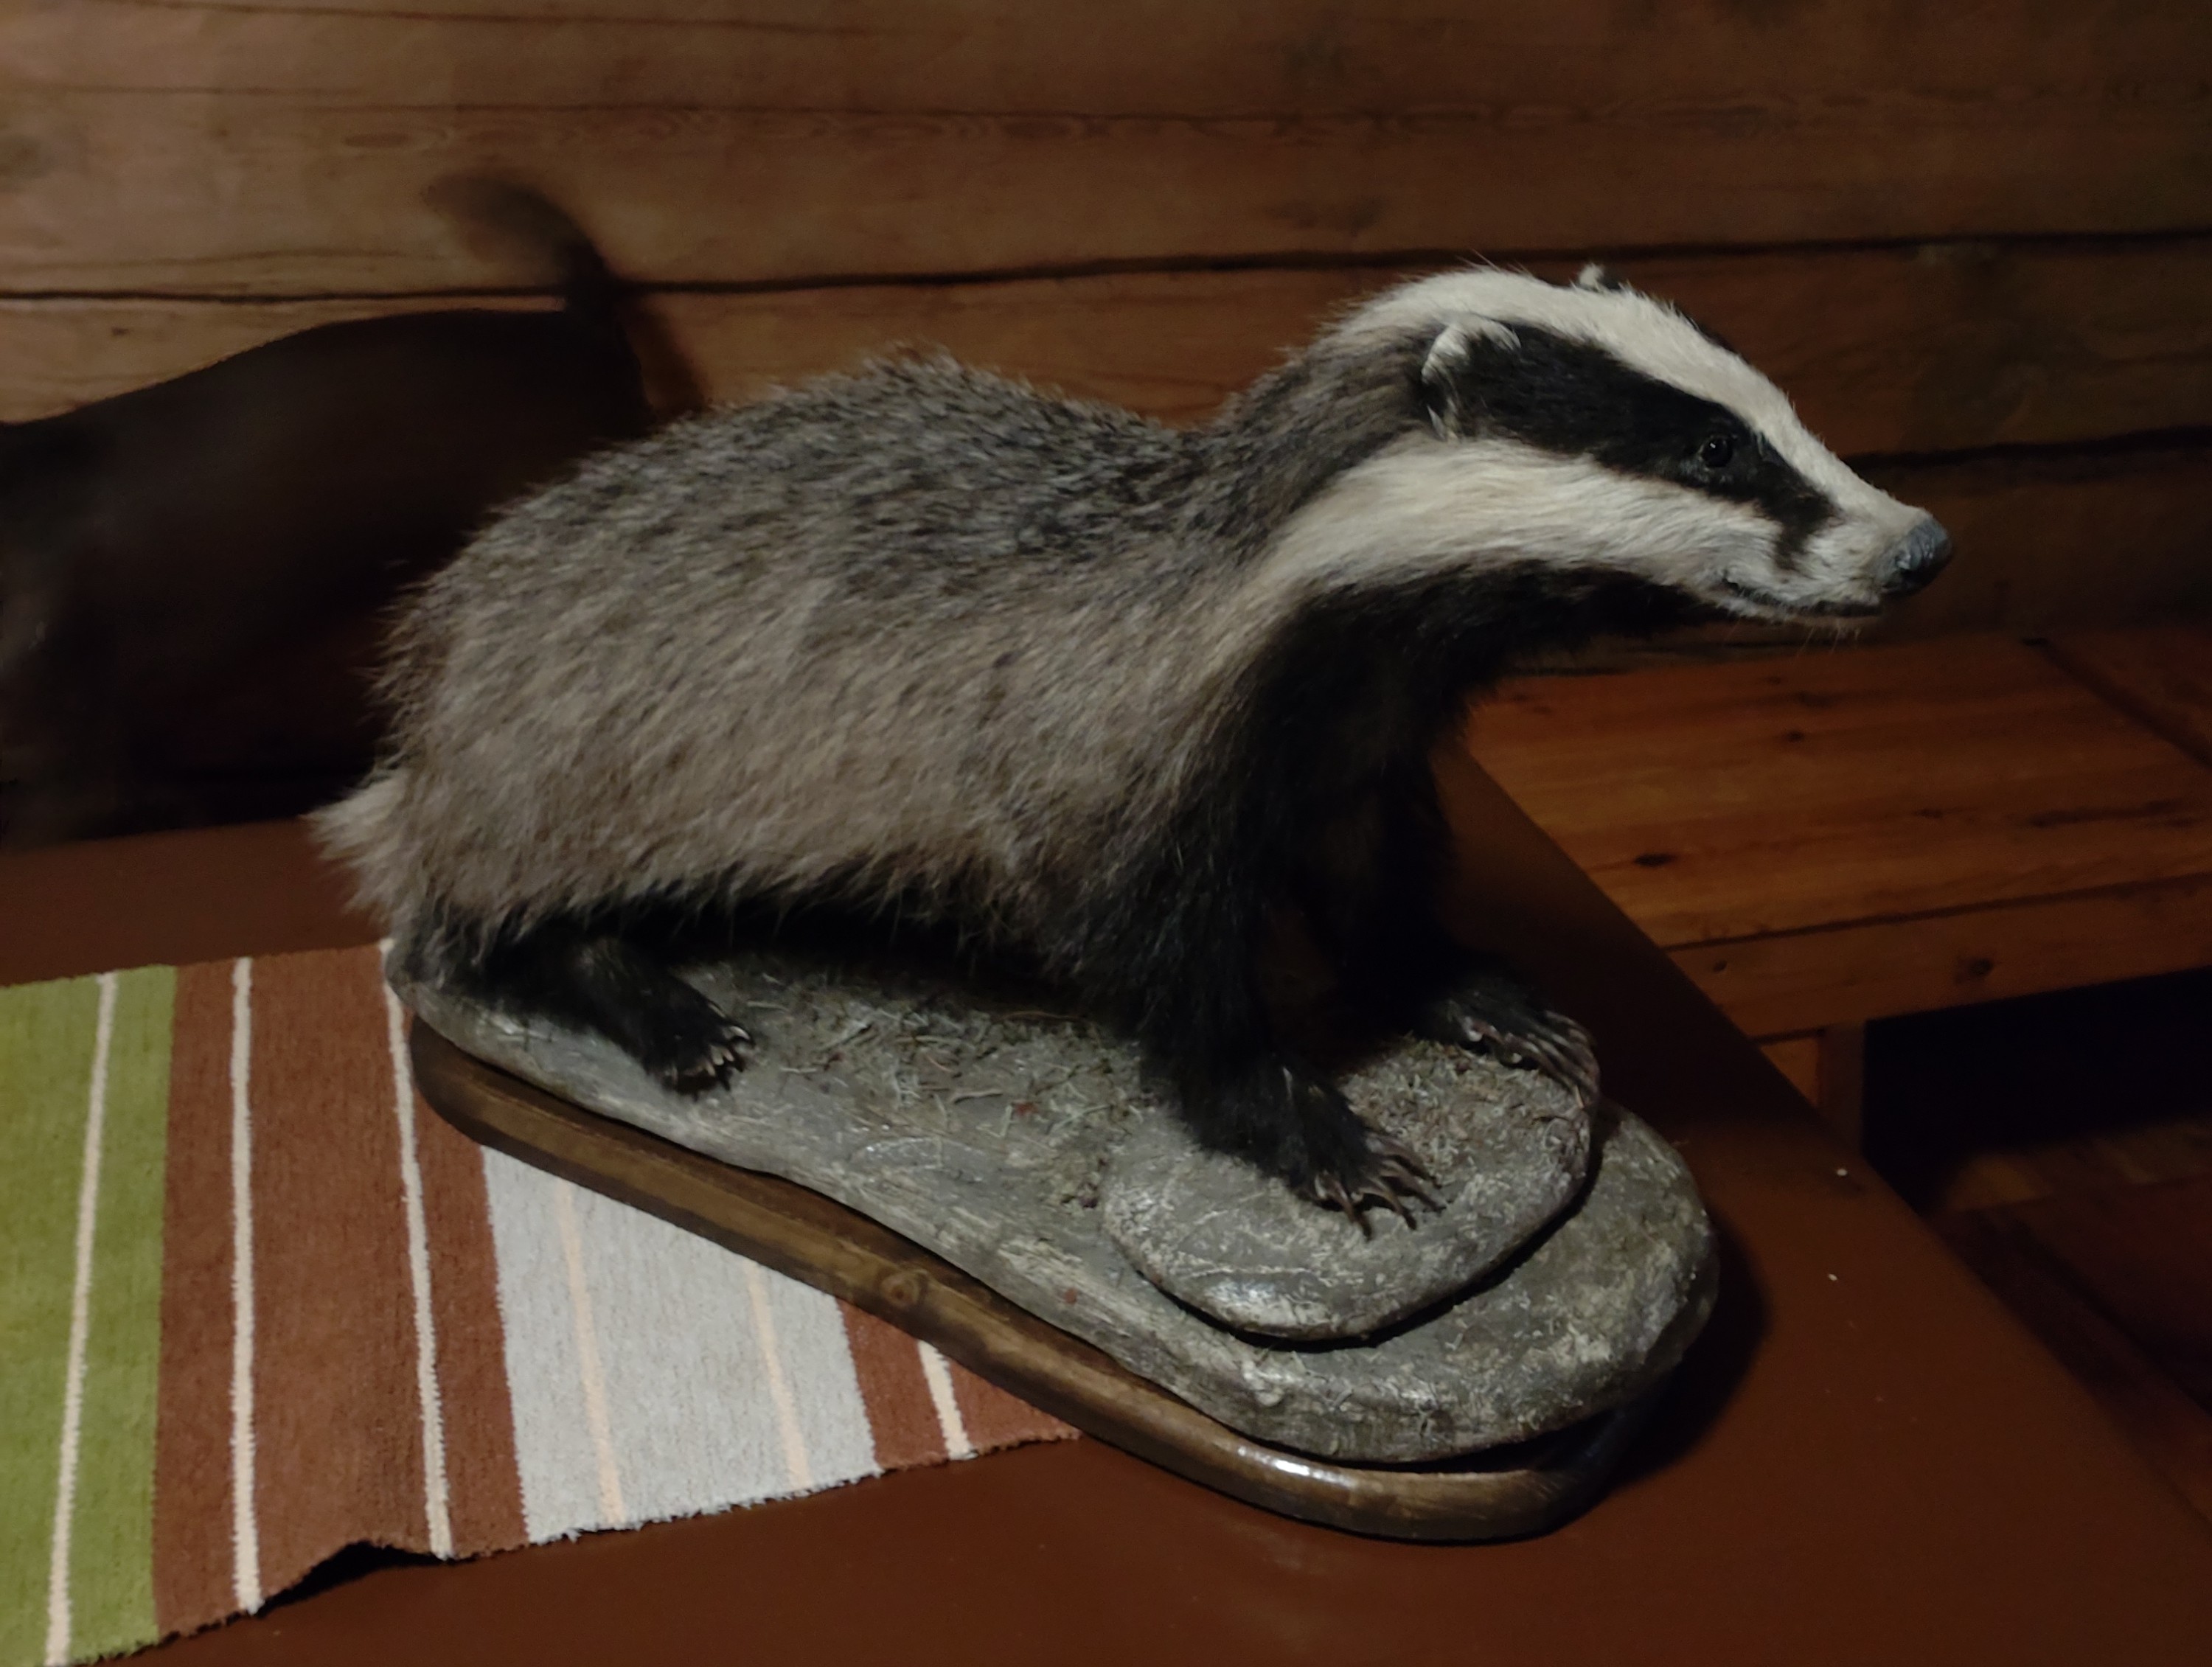
>Foil>Jot craft paper, Dollar Tree>Elmer's Glue, clear>Sika 33-fl oz Fence Post MixCover the foam form in foil completely. Do not leave holes. Rip strips ~3"x5", some long, some in triangles, etc. from the Jot craft paper (or similar thin shipping packing paper such as a thin brown Kraft, butcher's, or masking paper). Lightly wet them and rub the Elmer's glue on it. Lay it down on the foil covered form. Repeat until fully covered, ideally with at least 2 layers. Wait until dry. Cut along the mold lines (I hope you remembered or can feel them) gently. Remove shell from form. Peel off foil (so it doesn't get stuck later). Use strips of paper and glue to glue that shell back together. Wait to dry. Experiment with foam and mix a known amount together and see how much volume that takes up. Make a hole in your paper shell and pour in foam mix. Be sure to get deep in legs and snouts and butts where bubbles may otherwise form before it starts "kicking" and rising. Wait until cured but still pliable (~7-10 minutes) and start peeling the paper off. If desired, bend the arms while still pliable and repeat until it no longer springs back. Use a Stanley Surform Shaver to adjust the form and improve the surface texture. Congrats, now you have a $15 form instead of a $150 form. Still need to find a cheap secondhand foam form to start but it saves a LOT of money and you can cut and re-pose it from here. Working on a raccoon right now and did that exact process. I am fucking BROKE right now and there's no way I could afford to burn $100-150 plus shipping on a piece of foam. Also, checked. Nice badger; wish I had one.
I've recently started watching this channel and I like it a lot. Hope you can find 2 part foam in Europe.
https://www.youtube.com/@amysanimalart/videos